

Private Road Base Installation That Holds Up
A private road usually fails long before the rock disappears. Water finds a low spot, vehicle traffic pushes material into the mud, and the road starts developing ruts, potholes, and soft edges. Proper private road base installation addresses what is underneath the gravel so the finished road has a firm, draining foundation instead of a temporary layer of rock.
For a home site, ranch entrance, equipment route, or construction access road, the goal is simple: build a surface that stays usable when it rains, carries the traffic it will actually see, and does not require constant patching. Getting there requires more than spreading aggregate over existing dirt.
Start With the Road’s Job
The right road base section depends on where the road goes and what crosses it. A short residential driveway carrying pickups and passenger vehicles has different needs than a ranch road used by loaded feed trucks, trailers, dump trucks, and heavy equipment. Construction access roads may need to support repeated concrete, lumber, and material deliveries before the final driveway is installed.
Traffic is only part of the decision. Native soil matters just as much. Much of Texoma has clay soils that hold water, expand when wet, and lose bearing strength under traffic. Sandy ground drains better but may need confinement and enough base thickness to keep rock from working down into the soil. A road built across low ground, a drainage path, or pond-adjacent soil needs added attention before any base material is delivered.
The first question should not be, “How many loads of gravel do I need?” It should be, “What needs to happen below the gravel for this road to stay stable?” That answer determines the grading, drainage work, road base depth, and material selection.
Private Road Base Installation Begins With Subgrade
Subgrade is the prepared native ground under the base. If it is soft, uneven, saturated, or full of organic material, placing rock on top will not correct the problem. The rock may cover the mud for a while, but vehicle loads will force it into weak soil and create the same rough surface again.
A proper installation starts by clearing loose vegetation, roots, topsoil, and unsuitable material where needed. The road area is then cut or shaped to establish a consistent elevation and cross slope. Low spots need to be brought up with suitable fill and compacted in controlled lifts rather than buried under loose base material.
On weak clay or wet ground, a contractor may need to undercut failed soil, add select fill, or use separation fabric before installing aggregate. Fabric is not required on every private road, but it can be useful where fine soil would otherwise pump upward into the base. It helps keep the aggregate and soil separated, especially on sections that remain damp or carry heavy traffic.
Compaction at the subgrade stage is a practical part of the job, not an extra detail. A smooth, firm subgrade provides a consistent platform for the road base above it. Skipping this step leaves hidden soft spots that show up later as tire ruts and potholes.
Shape the Road So Water Leaves It
Water is the biggest threat to a gravel road. It softens the subgrade, carries fines out of the base, and concentrates damage in wheel tracks. A road needs a crown or cross slope that sheds water toward the sides instead of trapping it in the center.
The exact shape depends on the site, but the principle does not change: water must have a planned route off the driving surface. Roadside swales, ditches, turnouts, and culverts may all be part of the work. If water crosses the road naturally, it needs a properly sized culvert installed at the correct elevation. Covering a drainage crossing with extra rock is not a substitute for a culvert.
Drainage also has to continue beyond the road. A ditch that dead-ends, a culvert outlet blocked by brush, or a driveway built higher than the surrounding grade can move the problem somewhere else. On rural properties, this often means looking at the full drainage path before building the road.
Choose Base Material for Strength, Not Just Appearance
Clean rock can make a road look good, but it is not always the best structural base. Road base products typically contain a blend of crushed stone and fines. When spread at the right moisture level and compacted, the fines lock the larger aggregate together to form a firmer layer.
Limestone road base is a common choice for private roads in this area because it compacts well and provides a stable driving surface. The best gradation and depth depend on the soil and traffic. A lightly used driveway may perform well with a properly prepared base course and a thinner finish layer. Heavier traffic or poor ground may require a thicker base section, additional stabilization, or larger aggregate at the bottom before a finer topping is placed.
Screenings and decomposed granite can be useful for certain finish surfaces, walkways, or lower-traffic areas, but they should not be treated as a fix for a weak road foundation. The base must carry the load first. A decorative or smoother top layer comes after the structural work is done.
Material needs should be measured by compacted depth, width, and length, not by guesswork. A road that looks wide at the entrance but narrows along the route can still need a significant amount of material. The road also needs enough width for its use, including room for trailers, service vehicles, and meeting traffic where appropriate.
Place and Compact in Controlled Lifts
Dumping all material in one thick layer and grading it out may be fast, but it does not always produce a dependable road. Thick, loose layers are harder to compact evenly, particularly when the road crosses variable ground.
A better approach is to place base in lifts, shape each lift, add moisture if the material is too dry, and compact it with the right equipment. A dozer or skid steer can spread and shape material efficiently, while a roller provides the compaction needed to bind the aggregate together. Equipment choice depends on the road size, material type, and access, but the finished surface should feel firm under traffic rather than loose and deep.
The final pass should restore the crown after compaction. This matters because traffic tends to flatten a road over time. Starting with proper shape gives the road a better chance of continuing to shed water between maintenance visits.
Common Problems That Shorten Road Life
Many private roads need repair because of one initial shortcut. The usual issues are easy to recognize in the field.
A road that turns soft after rain often has poor drainage, inadequate base depth, or weak subgrade beneath it. Deep wheel ruts commonly mean the base has mixed into the soil or was never compacted well. Potholes form where water stands and traffic breaks apart loose aggregate. Rock pushed to the edges usually points to a flat road surface, narrow road width, or repeated traffic on a soft center section.
Adding another load of rock may improve appearance for a short time, but it will not fix the root cause if water remains trapped or the road is failing below grade. In some cases, the practical repair is to rework the road, correct the drainage, rebuild the base, and then add a fresh surface layer.
Plan for Gates, Culverts, and Future Traffic
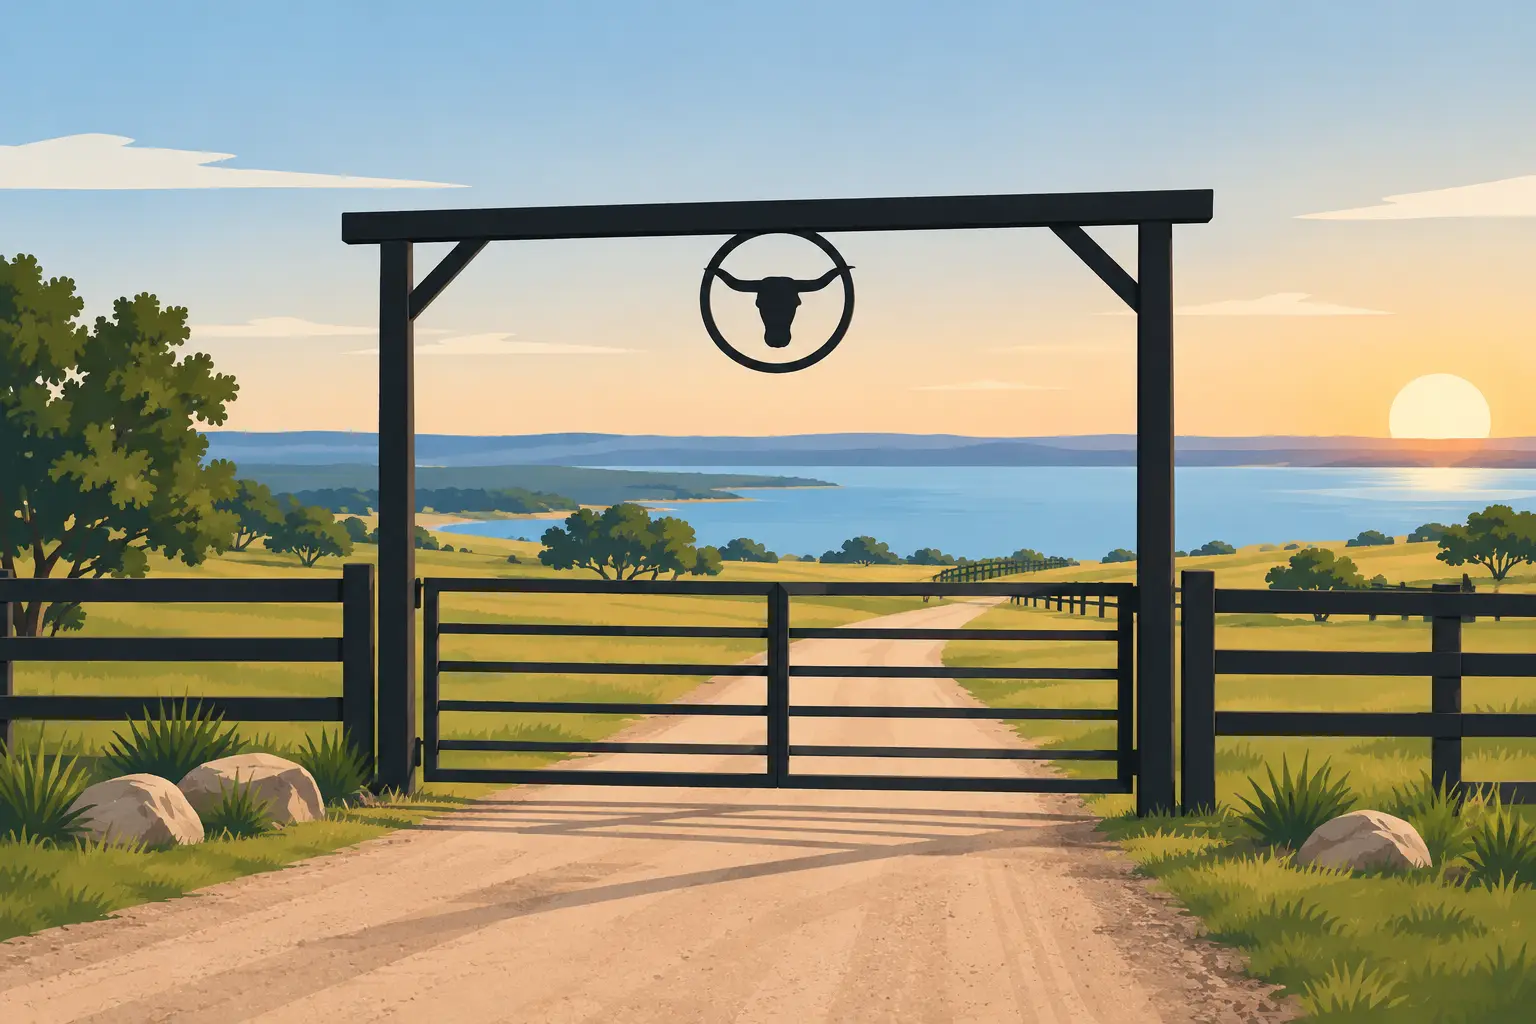
A private road is often part of a larger property access plan. Before installation starts, consider gate locations, cattle guards, utility crossings, building entrances, drainage channels, and turning areas for deliveries. It is much easier to install a culvert or cattle guard during road construction than to cut a finished road apart later.
Future use matters too. A road built for a house project may need to carry concrete trucks first. A ranch lane may begin as pickup access but later serve hay deliveries, livestock trailers, or equipment hauling. Building the base for expected traffic can prevent an expensive rebuild when the property use changes.
Triple R Dirt Works can handle the grading, drainage correction, culvert work, road building, and delivered road-base materials as one coordinated job. That keeps the subgrade preparation and aggregate installation working toward the same result: a usable road built for the property, not just a fresh layer of rock.
Before material is ordered, walk the road route after a good rain if possible. The wet spots, drainage paths, and soft areas visible that day will tell you far more about the road work needed than a dry-weather surface inspection ever will.